What roof pitch means
Roof pitch is written as rise over a 12 unit run. A 6/12 roof rises 6 inches for every 12 inches it runs horizontally. The same idea works in any unit, so a 6/12 roof also rises 6 cm for every 12 cm of run. To convert to degrees, take the arctangent of rise divided by 12.
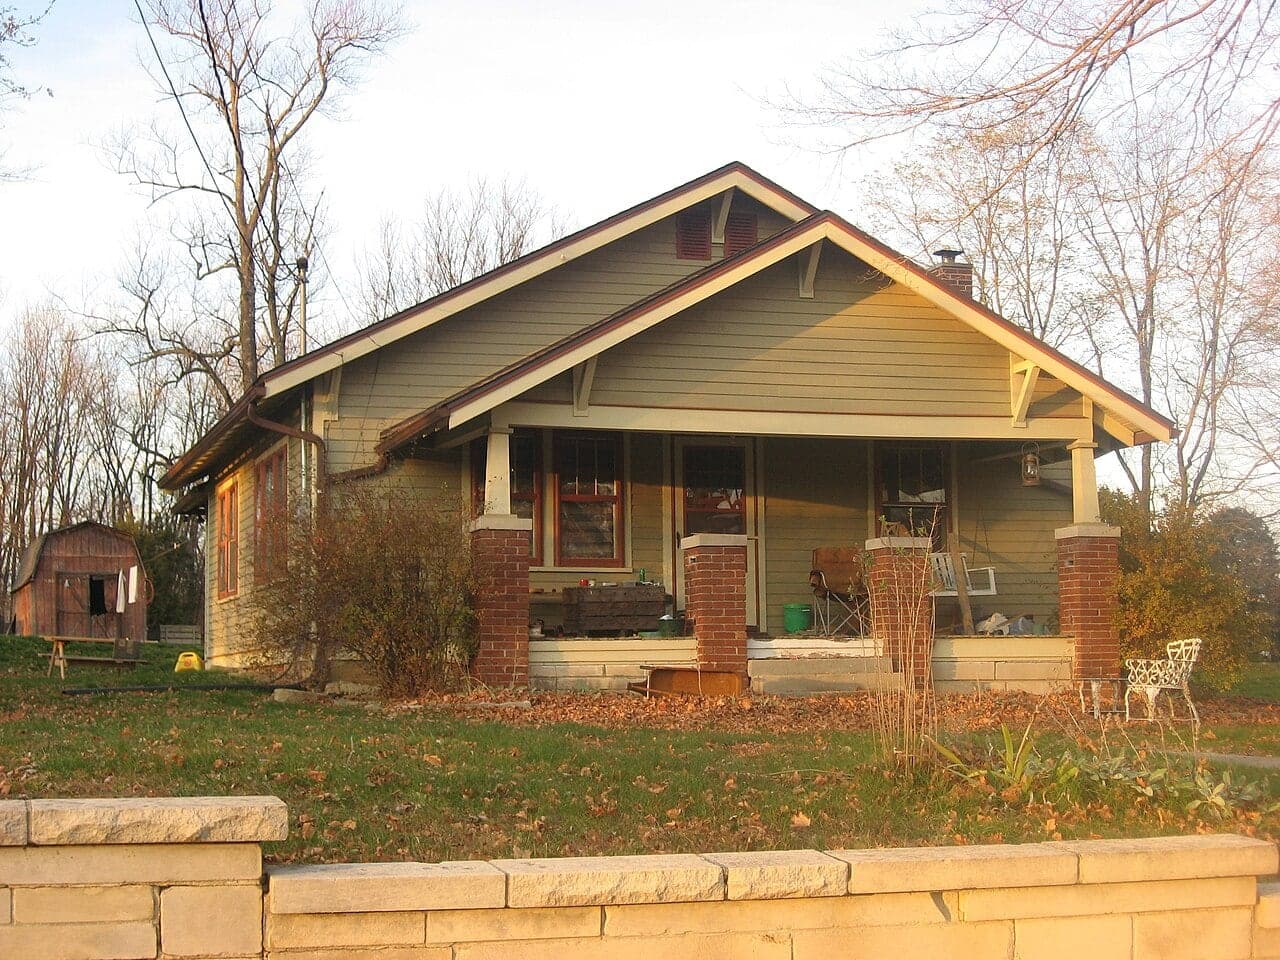
Our photo visualizer deliberately does not change roof shape. Re-framing a roof is structural work that needs an engineer or designer, and a render that changes pitch could mislead. The diagram on this page shows how slopes compare, and the photo tool shows new materials on the pitch you already have.
- 3/12: about 14 degrees, a low slope common on ranch houses and porches.
- 4/12: about 18.4 degrees, a very common low to moderate pitch.
- 6/12: about 26.6 degrees, a typical moderate pitch on many suburban homes.
- 8/12: about 33.7 degrees, noticeably steep and harder to walk on.
- 10/12: about 39.8 degrees, common on traditional two-storey and cottage forms.
- 12/12: 45 degrees, the classic steep pitch of A-frames and many Victorians.
Which roofing materials suit which pitch
Every roofing product has a minimum slope set by the manufacturer and by your local building code. The figures below are common minimums in North American practice; codes and product instructions vary, so confirm with your roofer and local building department.
- Asphalt shingles: generally allowed down to 2/12 with special double underlayment. Most manufacturers treat about 4/12 and steeper as standard installation.
- Standing seam metal: many systems are rated for low slopes, some well below 3/12 when the seams are mechanically locked. Snap-lock panels typically need more slope. Check the specific system.
- Wood shingles and shakes: commonly 3/12 to 4/12 minimum, and they last longer on steeper roofs that drain and dry quickly.
- Slate: usually 4/12 minimum, and it looks and performs best on steep roofs.
- Clay and concrete tile: often around 2.5/12 minimum with special underlayment, with 4/12 and up preferred.
- Below about 2/12: low-slope membrane systems are normally used instead of shingles.
How pitch affects snow, water and looks
Steeper roofs shed water and snow faster. In snowy parts of Canada and the northern US that reduces how long snow sits on the roof, though design snow loads are set by local code based on your location, and steep or slippery roofs only receive reductions in specific cases. An engineer or the building department decides that, not the pitch alone.
Pitch also changes how much roof you see. On a low 3/12 or 4/12 roof the walls dominate the view and roof color matters less. On a 10/12 or 12/12 roof the roof can be half of the front elevation, so its color and texture drive the whole look.
Steeper roofs cost more to install and repair, because they need more material per square of floor area, more safety equipment and more labor time. Low roofs are cheaper but less forgiving of poor flashing.
How to estimate your pitch
From the attic: hold a level horizontally against the underside of a rafter, mark 12 inches along the level, and measure straight up from that mark to the rafter. That measurement is your rise.
From the ground: stand directly in front of a gable end and take a photo with the camera held level, from as far back as you can to reduce lens distortion. Measure the roof angle in the photo with a protractor or an angle app, then use the diagram to find the nearest pitch. A photo estimate is usually within one pitch step, good enough for choosing materials but not for ordering them.
Once you know your pitch, try materials that suit it in the roof color visualizer.